photo 81949b89-01e9-4b68-9ed7-2f5f0107c4a1_zps643f50f2.png photo 27be1839-4b5a-4876-9e37-0b226c2dd11b_zpsa7cee300.png photo ea055864-8a7a-4a03-8d8e-c2bc3183d188_zpscfef9c29.png photo ff1b7c14-acad-443e-b9bf-100ee7284711_zpsbe9025d0.png
Showing posts with label steps. Show all posts

Friday, January 17, 2014

Photo Wall Using Fairy Lights

I'm sure that you have seen several pictures of fairy lights (string lights) used as room decorations and they always look pretty and elegant. Prior to hanging these lights, I had no photographs in my room at all and I was faced with a really empty wall behind my bed. By combining these two elements--using Pinterest for inspiration, I was able to fulfill both of my desires. 


What You'll Need


1. Draw It First

Before you stick any of the hanging clips on the wall, make sure you draw out the pattern or design you want to hang the lights on the wall. This will take a lot of trial and error. I wanted to fill up my entire wall with my lights, so the final design I settled on was a horizontal draping of the lights. Also, make sure that your lights are long enough to reach an outlet! My outlet is right behind my bed near my nightstand so it works out well.


2. Measure It Out

I measured out one and a half feet in and half a foot down from the ceiling to place the top two corner clips. You can mark this with a pencil. These top two clips are probably the most important because they set the basic framework for the rest of your arrangement. Continue to mark out where you want the rest of the clips to be placed (I had three on the right and two on the left). 


3. Place The Clips


These Command clips are great because they can be easily taken off and moved. The actual sticker strips can only be used once, but the clips can be reused. Before you use the clips, you should wipe down your wall with some alcohol--I just used a drop of hand sanitizer--to remove any residue before sticking on the clips. Follow the instructions on the box to properly use the clips and strips. 


4. Step Back


You might not be happy with how you first hang the lights (as you can see above it took me several attempts to get it just right), but once you do get it right, it's like a fairy sprinkled fairy dust everywhere haha.


5. Hang Your Photos


baby me <3

Once your lights look just right, you can decide on what photos you want to display. In total, I used 18 photos, an assortment of old photos of when I was a baby, and some newer ones that I printed out on photo paper off Facebook. I didn't have any clothespins on hand, so I just used some large paper clips to secure the pictures on the lights. It's also great that you can you always add more photos, switch them out, or clip on anything else you want to remember (ticket stubs, notes, etc.).


6. Finishing Touches


For the purpose of function and accessibility, I added another clip right next to my outlet so that I wouldn't always have to reach for the end of the string to plug it in. This makes it really easy to plug and unplug the lights because you know the end won't suddenly fling back and mess up the rest of your arrangement. 


I can't even begin to describe to you how much I love my wall now. Every time I turn on the lights and look at the pictures, I get this fuzzy feeling inside that makes me really happy and thankful for all the wonderful things in my life :)


Wednesday, January 15, 2014

HOW TO: Instantly Look Put-Together

We all want to achieve the best possible result while putting in the least amount of effort. However, when you are getting ready, it can sometimes be difficult to come up with a look that is both simple and put-together. In the mornings, if I ever feel like I look unpolished or incomplete, this is what I do.


1. Add a Black Blazer

If you have to transition a day look into a night look, or be business appropriate for an event, making a strong first impression is crucial. No matter what you are wearing--whether it be a floral print dress or a collared blouse--you can consistently add a black blazer to polish up any look. This type of tailored jacket instantly elevates any outfit, and black is a universal color that is flattering and functional. Getting ready always seems to come down to a few rushed minutes, so if you're in a bind and need to put something on fast as a final touch, you can easily throw on a black blazer and achieve that look. Having this piece on hand will transform you into looking like you are wearing an outfit rather than like you haphazardly grabbed the first clothes you could find. This tuxedo jacket from H&M is perfect because it has the right cut and slightly oversized feel to suit anything underneath.

2. Brush Your Hair

No, I don't actually have a Mason Pearson hairbrush. Maybe one day though...

It sounds silly and somewhat obvious, but you really don't want untamed hair when you are going for a put together look. Smooth and shiny hair in almost any style will get rid of that "just rolled out of bed" appearance that detracts from the rest of your outfit. As we all know, good hair is like an added accessory that has the power to complete any look. Knotty hair is obvious, so if you don't have time for anything else, brush your hair and get one step closer towards looking put-together.

3. Add One Statement Accessory

When wearing any outfit, you can sometimes look like there is something missing. This emptiness can be filled by a scarf, necklace, or even statement bracelet that draws attention to one specific feature. For instance, a statement necklace draws attention to your neckline and up, and it is a fun way to add a pop of color or shine for dimension. With scarves, the rule I always follow is that if I am wearing a solid color, then my scarf will be a printed or colorful, and vice versa. This creates a sense of balance in your outfit that makes it look like you have put in a lot of effort when you really haven't. The necklace I am wearing in the photo above is more of a quiet statement than the chunky ones are (like this one from BaubleBar) but really whatever you feel comfortable with will work best for you. 

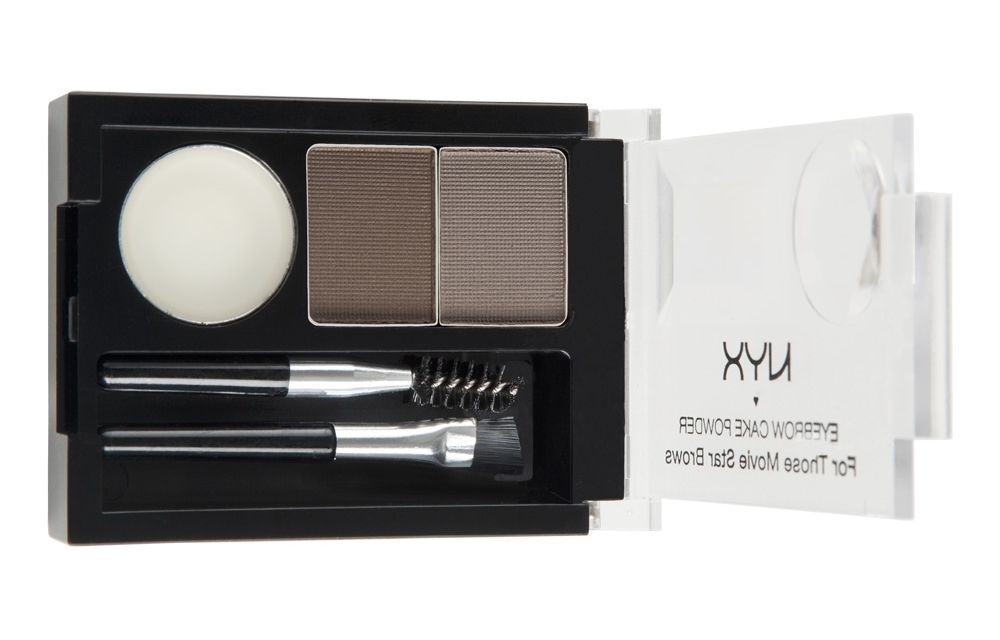
4. Fill In Your Brows

NYX Eyebrow Cake Powder in Taupe/Ash
Even for those of you who don't wear makeup, filling in your eyebrows is a way to immediately look polished and refined. There has definitely been a focus on strong, bold eyebrows in the beauty industry for the past couple of years, and it really is well-deserved. Eyebrows frame your eyes and complete your face. This final step of a well-defined brow is the fastest and simplest way to complete your new "put-together" style. To see what I use to fill in my brows check out my post "All About My Eyebrows".

Monday, January 13, 2014

Four Steps to Morning Skincare

Mornings are often the hardest times for all of us sleep deprived individuals, but with a solid beauty regimen, I am able to slightly alleviate the burden of waking up. In the mornings, I don't want to have to think very much about what I am going to do, wear, or put on my face--which is why I always lay out my outfits for school the night before. Instead, over time, I have developed this habitual process that makes what comes immediately after waking up more of an innate reaction than a thought out response. Also, if this process seems tedious to you, know that all these steps honestly have a purpose. By being kind to your skin, your skin will be kind to you. 

(for a full list of my skincare products and links see my "Must-Haves: Skincare")


1. Cleanse


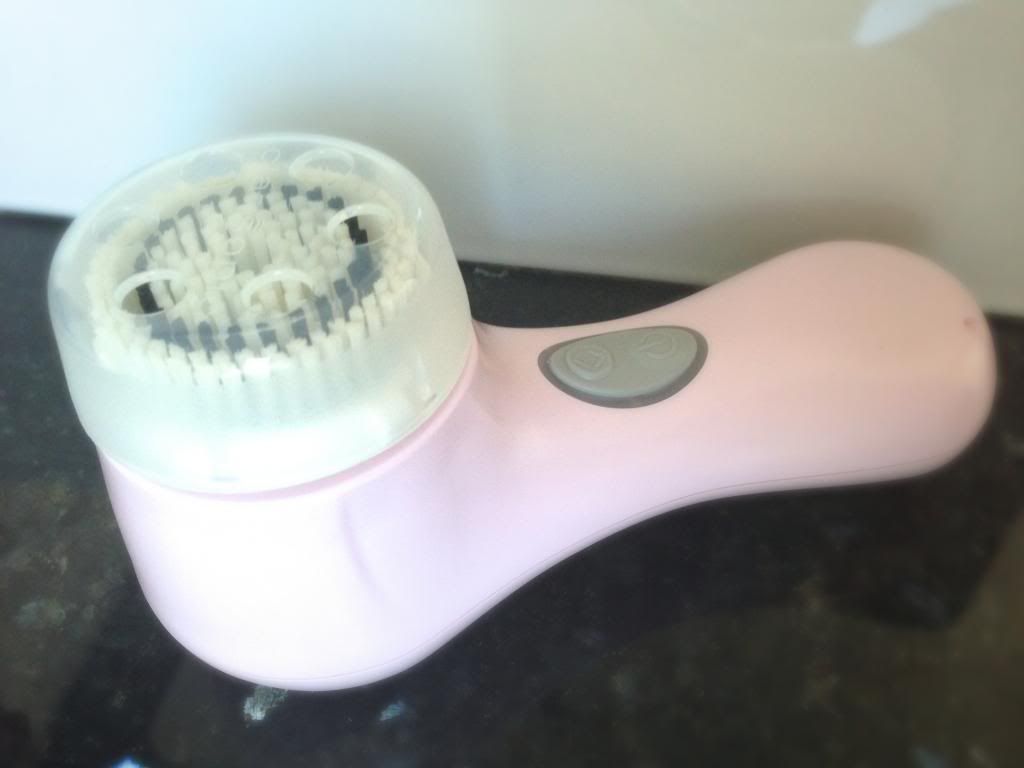
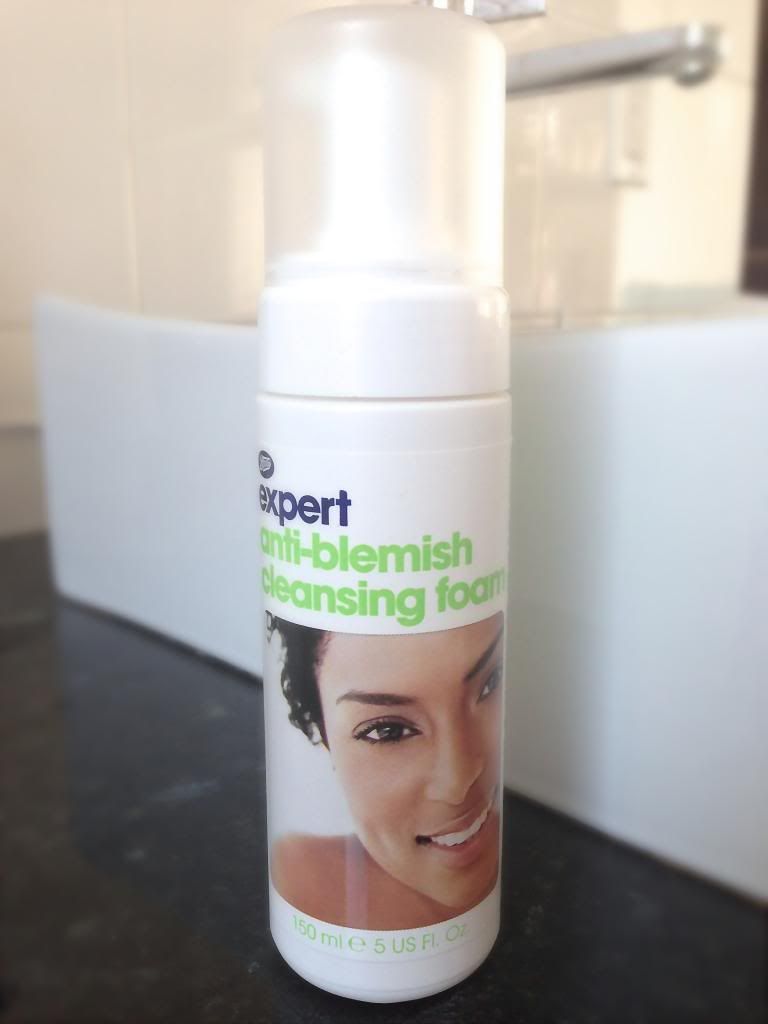
My day truly begins after I have washed my face with cold water, using my trusted Clarisonic Mia 2 ($142.50) and Boots Expert Anti-Blemish Cleansing Foam ($5.49). I first got the Clarisonic as a birthday present two years ago, and I must say that it has changed my life. That may sound dramatic to some of you, but it may be the Clarisonic by itself, or the combination of it with the rest of my routine that has made my skin more clear and evenly toned than before. Even though it is expensive, it truly is an investment, especially given the two year warranty and great customer service: I don't know what I would do without it! Back to my routine, I find that using a foaming cleanser with the Clarisonic is ideal for my sensitive skin, and I go through bottles and bottles of this cleanser from twice daily use--I actually have four in my bathroom right now--so the price doesn't hurt.


2. Treat


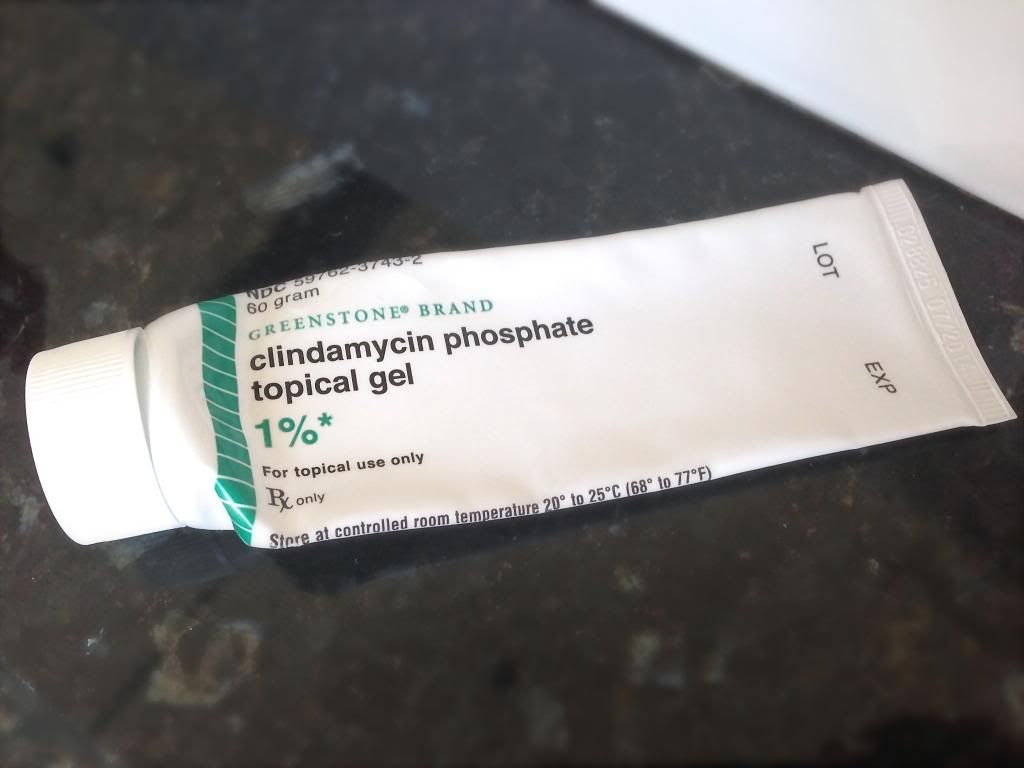
After I wash my face, I apply treatment to any spots or breakouts I may have. I use this prescription from my doctor: Clindamycin Phosphate Topical Gel 1%. I've used this since middle school because Salicylic Acid and Benzoyl Peroxide really weren't working well for my breakouts, and this was the only acne product that helped clear up my skin. If you have had a similar experience as me, be sure to talk to your doctor to see what they recommend. I use the treatment under my moisturizer so that it has the most contact with my skin, delivering the most direct effect. 


3. Moisturize


After the spot treatment has dried, I use my Philosophy Take A Deep Breath Gel Moisturizer ($35.00) all over my face and neck. If I were to only give one beauty tip, it would undoubtedly be: Moisturize! Moisturize! Moisturize! It doesn't matter what skin type you have, you can find the perfect moisturizer for your skin (which really is the difficult part). This moisturizer is good for my skin because it is an oil-free gel, so it is lightweight, doesn't clog my pores, and soaks in quickly. Don't be stingy, slather it on, gently of course. Moisturizing now will pay off in the future. 


4. Protect


Easy to forget, but important to remember, sunscreen cannot be forgotten...ever. It doesn't matter whether it is winter, summer, spring, or fall, you always have to protect your skin from the sun's rays. My sunscreen of choice actually came to me as a sample from Ulta, and I'm glad that it did. It's the CōTZ Face Natural Skin Tone SPF 40 ($19.99). This sunscreen has a matte finish, so it isn't greasy and it won't make your skin look oily, which is an important feature for me. It is tinted to a generic skin color, so it does give you the tiniest hint of coverage, but it isn't too noticeable and doesn't affect the product's appeal. 

What is your morning skincare routine? Do you have any skincare products that you swear by?